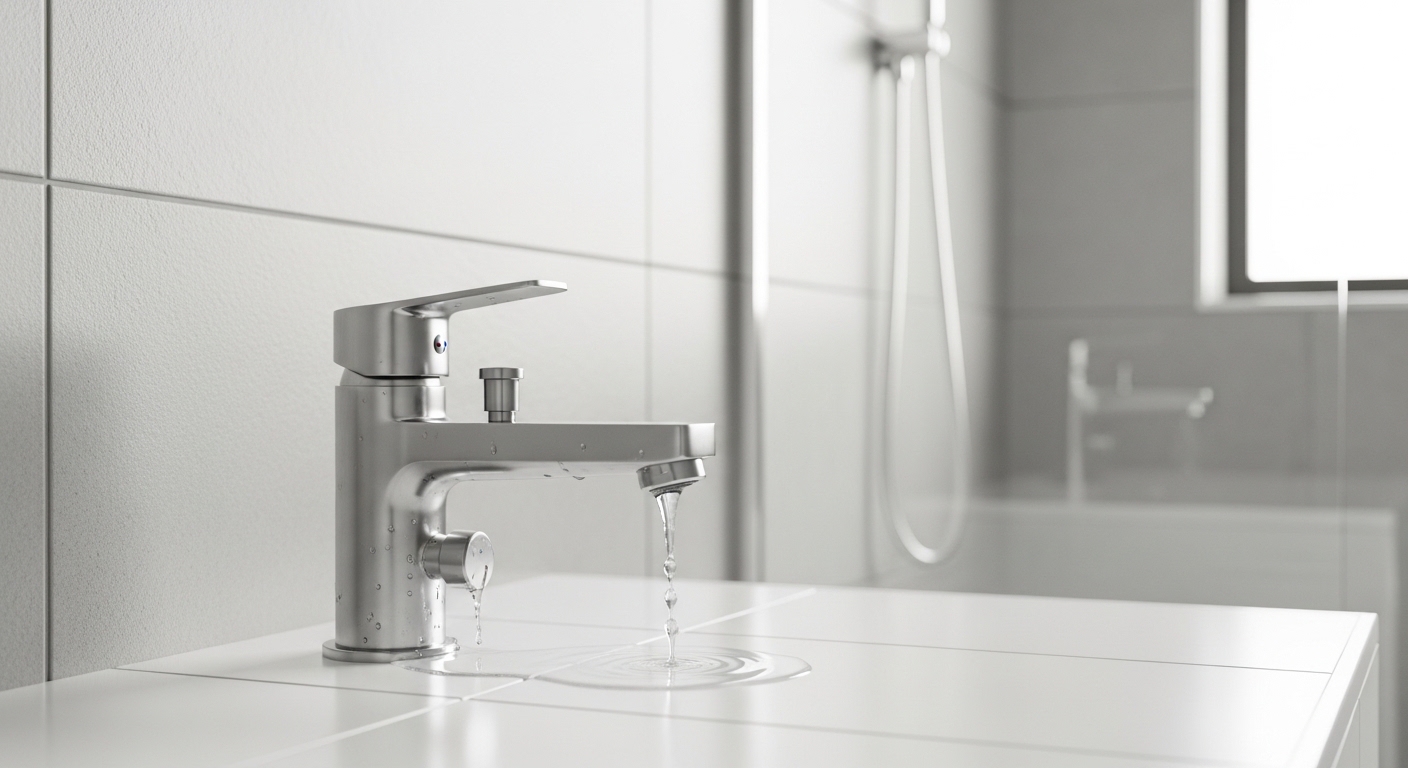
If your shower faucet valve leaking problem keeps you up at night with that maddening drip-drip-drip, you’re not alone — it’s one of the most common bathroom fixture failures we see. The good news: it’s also one of the most fixable. A dripping shower head or a wall that stays wet long after you’ve shut the water off usually points to a single, replaceable part inside the valve, and you rarely need to tear open the wall to solve it. This guide walks you through diagnosing the leak, fixing it correctly, and choosing a replacement valve that won’t fail again in two years.
At avamani, we specialize in faucets, shower systems, and bathroom fixtures, so we’ll keep this strictly practical — no fluff, just the parts, tools, and decisions that actually stop the leak and protect your shower long-term.
Why Your Shower Faucet Valve Is Leaking
Before you buy a single part, you need to know what is leaking and where. The term “shower faucet valve leaking” covers several distinct failure points, and the fix for each one is different. A shower valve is the brass or bronze body buried in the wall behind your tile. The handle and escutcheon (the decorative plate) are the “trim” you can see; the working mechanism — the cartridge, springs, seats, and O-rings — lives inside the valve body.
When water escapes where it shouldn’t, it’s coming from one of these components. Here’s how the common culprits break down.
1. A Worn or Cracked Cartridge
The cartridge is the heart of a modern shower valve. It mixes hot and cold water and controls flow. Over years of use, the internal seals on the cartridge wear down, allowing water to seep past even when the handle is in the off position. A failing cartridge is the #1 reason for a shower head that drips constantly after you shut off the water. Replacing it solves the vast majority of leaks.
2. Failed O-Rings and Seals
Small rubber O-rings seal the connection points inside the valve. When they dry out, flatten, or tear, water can weep out around the handle or behind the escutcheon — often the first sign is a damp wall or a stain on the ceiling below an upstairs bathroom. O-rings are inexpensive and easy to swap if you catch the leak early.
3. Mineral Buildup and Corrosion
Hard water deposits calcium and lime inside the valve, scoring the seals and preventing the cartridge from seating fully. In older brass valves, corrosion can pit the valve body itself. If you’ve descaled and replaced the cartridge and it still drips, the valve body may be the problem — and that’s when full replacement makes sense.
4. Worn Rubber Seats and Springs (Two-Handle Valves)
Older two-handle and three-handle shower setups use rubber seats held against the valve by small metal springs. These wear out and are a classic source of drips. They’re cheap to replace, but if your hardware is decades old, this is often the moment homeowners choose to modernize to a single-handle pressure-balancing valve.
How to Fix a Leaking Shower Faucet Valve (Step by Step)
Most cartridge and O-ring replacements are a 30-to-60-minute DIY job with basic tools. If your leak is behind the wall, inside a slab, or you see active corrosion on the valve body, call a licensed plumber. Here’s the standard repair process for a single-handle valve.
- Shut off the water. Use the shut-off valve for the bathroom if you have one, or close the main water supply. Open the shower handle to relieve pressure and drain residual water.
- Cover the drain. Drop a rag or drain cover over the shower drain so you don’t lose small screws or clips.
- Remove the handle and trim. Pop off the index cap, remove the set screw with an Allen wrench, and pull the handle. Then unscrew the escutcheon plate to expose the valve.
- Remove the retaining clip or nut. Most cartridges are held by a brass U-clip or a threaded retaining nut. Pull the clip with needle-nose pliers and keep it safe.
- Extract the cartridge. Pull it straight out. If it’s stuck from mineral buildup, a cartridge-puller tool designed for your brand makes this far easier and avoids damaging the valve body.
- Inspect and replace. Compare the old cartridge and O-rings to the new ones. Replace the cartridge, lubricate new O-rings with plumber’s silicone grease (never petroleum-based), and check the rubber seats and springs if your valve uses them.
- Reassemble and test. Reinstall in reverse order, restore the water, and run the shower. Cycle the handle hot-to-cold several times and watch for drips around the handle and from the shower head.
One pro tip: always match the replacement cartridge to your exact valve brand and model. Cartridges are not universal, and a near-match that “looks the same” is a frequent cause of repeat leaks. If you’re unsure which valve you have, photograph the old cartridge and the valve body markings before you shop.
Repair or Replace? Comparing Your Options
Sometimes a new cartridge is the smart call; other times you’re better off replacing the whole valve and trim. Use the comparison below to decide based on cost, longevity, and the condition of your existing hardware.
| Option | Best For | Typical Cost | Longevity | Skill Level |
|---|---|---|---|---|
| Replace O-rings & seats | Minor weeping around handle, valve otherwise sound | $ | 2–5 years | Beginner |
| Replace cartridge | Constant drip from shower head, off-position leak | $$ | 8–15 years | Intermediate |
| New pressure-balancing valve | Corroded valve body, old two-handle setup, scald protection | $$$ | 15–25 years | Advanced / Plumber |
| New thermostatic valve | Precise temp control, multiple shower outlets, luxury upgrade | $$$$ | 20+ years | Plumber |
As a rule of thumb: if the valve body is clean brass with no corrosion, replace the cartridge and seals and move on. If you see green or white corrosion, pitting, or you’re still on an aging three-handle system, invest in a modern valve. You’ll gain reliability and, with a pressure-balancing or thermostatic unit, anti-scald protection that older valves simply don’t offer.
Choosing a Replacement Shower Valve and Trim That Won’t Leak Again
If you’ve decided to upgrade, the valve type matters far more than the finish you see on the wall. Here’s what to weigh when a shower faucet valve leaking issue pushes you toward a full replacement.
Pressure-Balancing vs. Thermostatic Valves
A pressure-balancing valve keeps water temperature steady when someone flushes a toilet or runs the kitchen sink, preventing those sudden hot or cold blasts. It’s the modern standard for most homes and meets anti-scald code requirements. A thermostatic valve goes further — it lets you set an exact temperature and holds it precisely, and it can drive multiple outlets (shower head, hand shower, body sprays) at once. Thermostatic is the choice for spa-style showers and larger builds.
Valve Body Material and Build Quality
Look for a forged brass valve body rather than thin pot-metal castings. Quality cartridges use ceramic disc technology, which resists wear and hard-water scoring far better than older rubber-and-spring designs. These two factors — brass body and ceramic cartridge — are the single biggest predictors of whether your new valve will still be leak-free a decade from now.
Finish and Trim Matching
Once the valve is sorted, the visible trim — handle, escutcheon, and shower head — is where you express style. Match the finish to the rest of your bathroom fixtures for a cohesive look. Popular options include polished chrome, brushed nickel, matte black, and warm bronze tones. If you’re coordinating a bathtub-and-shower combo, our guide to the oil rubbed bronze bathtub faucet walks through finish durability and how bronze wears over time — useful even if you ultimately choose a different color family.
For homeowners refreshing an entire bathroom, the same finish logic applies at the vanity. Our Elate widespread faucet buyer’s guide covers spec-matching, spread dimensions, and finish coordination so your shower trim and sink faucet read as one intentional set rather than a mismatched collection.
Preventing Future Shower Valve Leaks
A new valve is only as good as the water and care it gets. A few habits dramatically extend the life of any shower faucet and reduce the odds of a repeat leak.
- Address hard water. If you have mineral-heavy water, a whole-home softener or periodic descaling protects cartridges and seals from the buildup that scores them.
- Don’t over-tighten the handle. Cranking a single-handle valve hard into the off position grinds the cartridge seals. Snug is enough.
- Replace seals proactively. If you’re already in the valve for any reason, swap O-rings and re-grease with silicone — it’s cheap insurance.
- Use the right grease. Always use plumber’s silicone grease on rubber seals. Petroleum-based products degrade rubber and cause premature leaks.
- Fix drips fast. A small drip wastes water and slowly erodes the valve seat. Catching it early often means a $5 O-ring instead of a full valve replacement.
Stay ahead of these and a quality valve will outlast the rest of your bathroom remodel.
Tools and Parts Checklist
Gather these before you start so you’re not running to the hardware store mid-repair with the water shut off:
- Allen/hex wrench set (for the handle set screw)
- Adjustable wrench and needle-nose pliers
- Flathead and Phillips screwdrivers
- Brand-specific replacement cartridge and seal kit
- Cartridge-puller tool (for stuck cartridges)
- Plumber’s silicone grease
- White vinegar or a descaling solution for mineral buildup
- A rag and a small container for screws and clips
Why Trust avamani
avamani designs and supplies faucets, shower systems, and bathroom fixtures built around forged brass bodies and ceramic-disc cartridges. Our shower valves are tested for cycle endurance and pressure performance, and our trim is engineered to standard valve footprints so upgrades stay straightforward. We back our fixtures with a manufacturer warranty and detailed installation documentation, because a fixture that’s easy to service is a fixture that lasts. When you’re choosing parts to stop a leak — or planning a full shower upgrade — you’re working from real product specs, not guesswork.
Author note: This guide was written and reviewed by the avamani fixtures team, drawing on hands-on experience installing, testing, and troubleshooting residential shower valves across a wide range of brands and water conditions. Product recommendations reflect general best practices; always follow your valve manufacturer’s instructions and local plumbing codes, and consult a licensed plumber for in-wall work.
FAQ
Why does my shower keep dripping even after I turn it off?
A constant drip from the shower head after shut-off almost always means the valve cartridge has worn seals that no longer fully block water flow. Replacing the cartridge with the correct brand-specific part resolves this in the large majority of cases. If a new cartridge doesn’t fix it, inspect the valve seats or consider that the valve body itself may be corroded.
Can I fix a leaking shower valve without replacing the whole thing?
Yes — most leaks are fixed by replacing the cartridge, O-rings, or rubber seats and springs, all of which are inexpensive parts. You only need a full valve replacement when the brass body is corroded or pitted, or when you’re upgrading an old two- or three-handle system to a modern pressure-balancing valve.
How much does it cost to fix a leaking shower faucet valve?
A DIY cartridge or O-ring repair typically runs $15–$60 in parts. A new pressure-balancing valve plus trim ranges higher, and professional installation adds labor — especially if the valve sits behind tile. Catching a leak early and replacing a cheap seal is far less expensive than waiting for water damage to develop in the wall.
How do I know which cartridge my shower valve needs?
Cartridges are brand- and model-specific, not universal. The most reliable method is to shut off the water, remove the old cartridge, and match it exactly — note any markings on the valve body and photograph the part. Bring the old cartridge to the store or compare it directly against the replacement before installing.
Is a leaking shower valve an emergency?
A slow drip from the shower head isn’t an emergency, but it wastes water and gradually erodes the valve seat, so fix it within a few weeks. Water seeping behind the wall — shown by damp drywall, ceiling stains, or a musty smell — is more urgent, because hidden moisture leads to mold and structural damage. Shut off the water and address in-wall leaks promptly.
Should I upgrade to a thermostatic valve when replacing a leaking one?
If you want precise, repeatable temperature control or plan to run multiple shower outlets like a hand shower and body sprays, a thermostatic valve is worth the upgrade. For a standard single shower head, a quality pressure-balancing valve delivers reliable performance and anti-scald protection at a lower cost. Both are major improvements over aging two- and three-handle systems.