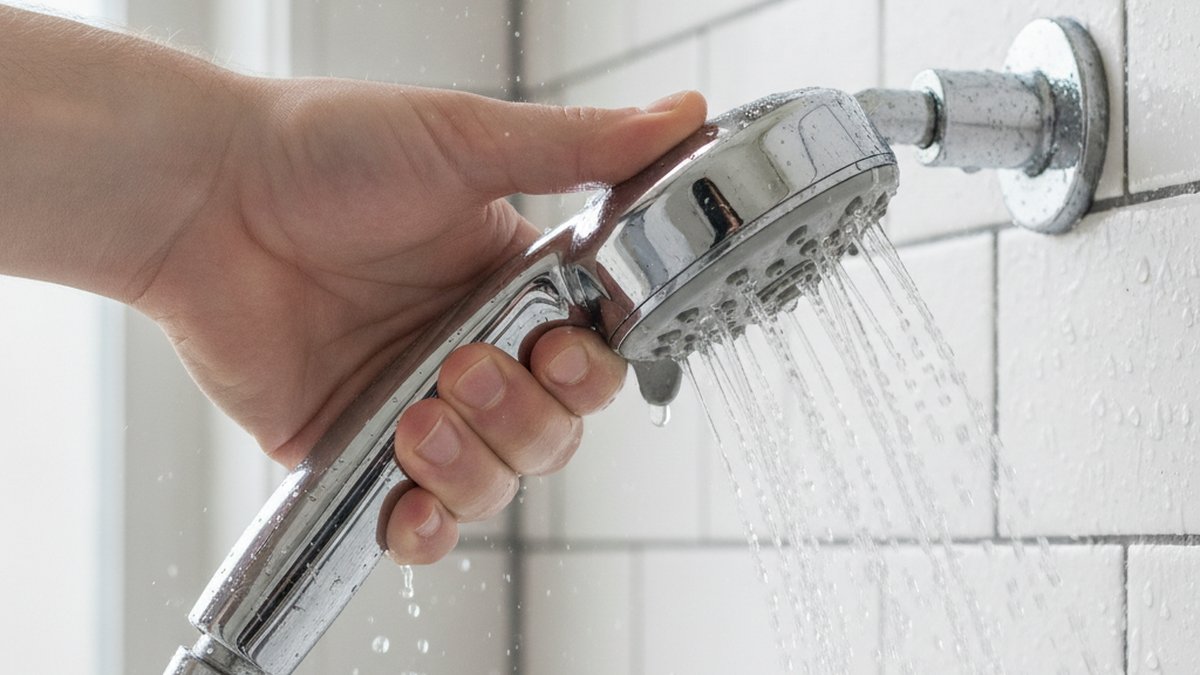
If you’ve been searching for a how to change shower head video before you touch anything, here’s the honest truth: watching one won’t hurt, but the task itself is one of the easiest plumbing swaps in the whole bathroom. There’s no water shutoff, no valve, no soldering, and usually no tools beyond your hand and maybe an adjustable wrench. Below, we walk through the exact steps a good video would show you — plus the two or three moments where people actually mess it up, which most videos skip right past.
What tools do I actually need to change a shower head?
In most cases, nothing but your bare hands and a roll of plumber’s tape. Shower heads thread onto a standard 1/2-inch shower arm and are designed to be finger-tight. That said, keep three cheap things within reach so you’re not running to the hardware store mid-job.
- PTFE / plumber’s tape (also called Teflon tape) — a $2 roll that seals the threads and stops drips at the connection.
- An adjustable wrench or a pair of channel-lock pliers — only needed if the old head is stuck or over-tightened.
- A rag or old washcloth — to grip a slippery head and to protect the finish if you use a wrench.
- A toothbrush and white vinegar — optional, for cleaning mineral crust off the shower-arm threads before you install the new head.
If you’re on well water or in a hard-water region, that vinegar step matters more than any video will tell you. Mineral scale builds up on the threads and inside the old head, and a fresh, scale-free connection is the difference between a clean seal and a slow drip a week later.
How do I remove an old shower head without breaking the pipe?
Turn the shower head counterclockwise (lefty-loosey) while holding the shower arm steady with your other hand — that second grip is the whole secret to not damaging the pipe behind the wall. The shower arm is the curved pipe coming out of the tile; if you twist the head hard without bracing the arm, you can loosen or crack the connection inside the wall, which turns a 5-minute swap into a real repair.
Step by step:
- Wrap a rag around the base of the shower arm and hold it firmly, or use a second wrench there to keep it from rotating.
- Grip the shower head (use pliers with a cloth pad if it won’t budge by hand) and turn counterclockwise.
- If it’s frozen with corrosion, soak a rag in white vinegar, wrap it around the joint, and wait 20–30 minutes before trying again. Heat from a hair dryer also helps loosen old thread sealant.
- Once it spins free, unscrew it the rest of the way by hand and set it aside.
Whatever you do, don’t crank on a stuck head with maximum force and no brace on the arm. If the arm itself starts turning inside the wall fitting, stop — you’re risking a leak inside the wall cavity, which is exactly the kind of hidden problem behind issues like a tub spout that leaks when the shower is on. Bracing the arm keeps all your force at the joint you actually want to open.
How do I install the new shower head so it doesn’t leak?
Wrap the shower-arm threads with 3–4 clockwise turns of PTFE tape, then screw the new head on by hand until snug plus about a quarter-turn — that’s it, and it won’t leak. The number-one cause of a dripping connection isn’t a bad shower head; it’s skipped or backward tape. Here’s how to get it right the first time.
- Clean the threads. Wipe off old tape, pipe dope, and mineral crust so the new tape sits on clean metal.
- Wrap the tape the right direction. Hold the arm with the threads pointing at you and wrap the tape clockwise (the same direction the head screws on). Wrapping it backward makes the tape unravel as you tighten. Do 3–4 snug wraps and press it into the threads.
- Thread on the new head by hand. Start it carefully so you don’t cross-thread — it should turn easily for the first few rotations. If it binds immediately, back it off and restart straight.
- Snug it up. Hand-tight is usually enough. If you want insurance, give it a gentle quarter-turn with a cloth-padded wrench. Do not gorilla-tighten it; you can crack the plastic collar on budget heads.
- Test it. Turn the water on and watch the connection for 30 seconds. A drip means the tape needs another wrap or the head needs a slight tighten.
That’s the entire job. For a basic wall-mount head, most people finish faster than it takes to load a tutorial video. The moment things get slightly more involved is when you switch styles — which is where the next question comes in.
Is changing a handheld shower head different from a fixed one?
Yes, slightly — a handheld kit adds a mount bracket and a flexible hose, but the pipe connection is identical. You still thread a base fitting onto the same 1/2-inch shower arm; the difference is that a diverter/holder screws onto the arm first, and the hose then connects the handheld wand to that holder. It adds maybe two minutes and one extra rubber washer to check.
The one detail that trips people up: handheld hoses use rubber washers (gaskets) at each end instead of thread tape. Make sure a washer is seated flat inside each hose nut before you tighten, or you’ll get a spray leak right at the coupling. Thread tape goes on the metal-to-metal arm connection; rubber washers go inside the hose connections. Mix those up and you’ll be back under the water looking for a leak.
| Shower head type | Difficulty | Extra parts vs. basic swap | Typical time |
|---|---|---|---|
| Fixed wall-mount head | Very easy | None — just PTFE tape | 5 minutes |
| Handheld with hose & bracket | Easy | Holder/diverter + hose washers | 10 minutes |
| Dual (fixed + handheld combo) | Easy–moderate | 3-way diverter, two hoses/washers | 15 minutes |
| Rain head on a new shower arm | Moderate | New longer/offset arm, extra tape | 15–20 minutes |
| Ceiling-mount rain head (new pipe) | Hard — call a pro | In-wall plumbing rework | Half day+ |
As the table shows, only a ceiling-mounted rain head that requires new in-wall plumbing really pushes this out of DIY territory. Everything that threads onto an existing shower arm is squarely a beginner job. If you’re also thinking about upgrading what’s behind the wall, that’s a completely different project — see our breakdown of what a shower valve system replacement really costs and whether you can DIY it before you assume a new head will fix pressure or temperature problems.
Why is my new shower head still dripping after I changed it?
A drip after installation almost always comes from one of three things: not enough (or backward) thread tape, a cross-threaded connection, or scale trapped on the threads — not a defective head. Work through them in order before you assume you bought a bad unit.
- Drip at the wall connection: back the head off, add another 1–2 wraps of PTFE tape in the correct clockwise direction, and re-tighten. This fixes the large majority of cases.
- Drip at the hose coupling (handheld): check that the rubber washer is present and seated flat, not pinched or missing.
- Head keeps dripping from the face after you shut the water off: that’s residual water draining from the head, and it’s normal for the first 10–20 seconds. If it continues for minutes, the problem is your shower valve not fully closing, not the head.
That last point matters. A brand-new head can’t stop water your valve is still letting through. If the drip won’t quit long after you turn the handle off, the fix lives upstream at the cartridge or valve — the same root cause behind many complaints like a faucet that leaks while the shower is running. And if your pipes have started rattling or whistling since the swap, that’s usually pressure or a loose fitting, covered in our guide to why a bathroom tap gets noisy and how to fix it yourself.
How do I pick a new shower head that actually fits and performs?
Any standard shower head fits any standard arm — the connection is a universal 1/2-inch NPT thread in the US — so “will it fit?” is rarely the real question. What actually matters is flow rate, spray pattern, and your home’s water pressure. Here’s how to choose without guessing.
- Flow rate (GPM): US law caps shower heads at 2.5 gallons per minute; water-efficient models run 1.75–2.0 GPM. If your water pressure is low, a slightly higher-flow head (closer to 2.5) will feel stronger.
- Water pressure: on low pressure, avoid dense rain heads with hundreds of tiny holes — they spread thin flow into a weak sprinkle. A concentrated spray feels far more powerful.
- Finish: match your existing tub spout and handle — chrome, brushed nickel, and matte black are the common ones. A quality finish is tested against tarnish and corrosion standards, so buy from a brand that publishes that, not a no-name unit.
- Filter needs: hard-water households benefit from heads with removable rubber spray nozzles you can rub clean, so scale doesn’t clog them permanently.
One more practical tip: keep the box and paperwork. A reputable shower head ships with a warranty (often limited lifetime on the finish and function), and registering it is a two-minute task that protects a purchase you’ll use every single day.
Author note & why you can trust this guide
This guide was written by the Avamani fixtures team — the same people who spec, pressure-test, and photograph the faucets, shower heads, and tub fixtures we sell at avamani.com. We’ve installed and swapped hundreds of heads across chrome, brushed nickel, and matte black finishes, and every product we carry is tested to standard US flow-rate and finish-durability requirements and backed by a manufacturer warranty. When we say a job is a 5-minute DIY, it’s because we’ve timed it — not because it reads well. If your situation turns out to need in-wall work, we’ll always tell you to call a licensed plumber rather than risk your walls.
FAQ
Do I need to turn off the water to change a shower head?
No. The shower head sits after the valve, so as long as your shower handle is off, no water flows to the arm and you can swap the head with the main water still on. Just make sure the handle is fully closed before you start.
Are all shower heads the same thread size and universal?
In the United States and Canada, yes — shower heads and arms use a standard 1/2-inch NPT thread, so virtually any head fits any arm. Exceptions are some imported European fixtures (which may use a different thread) and specialty ceiling-mount systems that need their own arm.
How much PTFE tape should I use on the threads?
Three to four snug wraps in the clockwise direction is the sweet spot. Fewer and it may drip; way more can make the head hard to thread on and can crack a plastic collar. Wrap it the same way the head turns so it tightens rather than unravels.
My old shower head is stuck and won’t unscrew — what now?
Wrap the joint in a vinegar-soaked rag for 20–30 minutes to dissolve mineral buildup, then try again while bracing the shower arm with a second wrench. A little heat from a hair dryer softens old thread sealant. Grip with cloth-padded pliers so you don’t scar the finish, and never force it without holding the arm steady.
Can changing a shower head increase my water pressure?
Sometimes. If your old head is clogged with scale or is a very low-flow model, a clean higher-GPM head will feel noticeably stronger. But if your whole-house pressure is genuinely low, a new head can only redistribute the flow you have — it can’t create more. Persistent low pressure is a valve or supply issue, not a head issue.
Is it worth watching a video before I do this?
Only if you’re moving to a handheld or dual system, or your old head is badly corroded. For a straight fixed-head swap, the written steps here cover everything a video would — unscrew, tape, screw on, test. Most people finish before a tutorial even gets to the tape step.