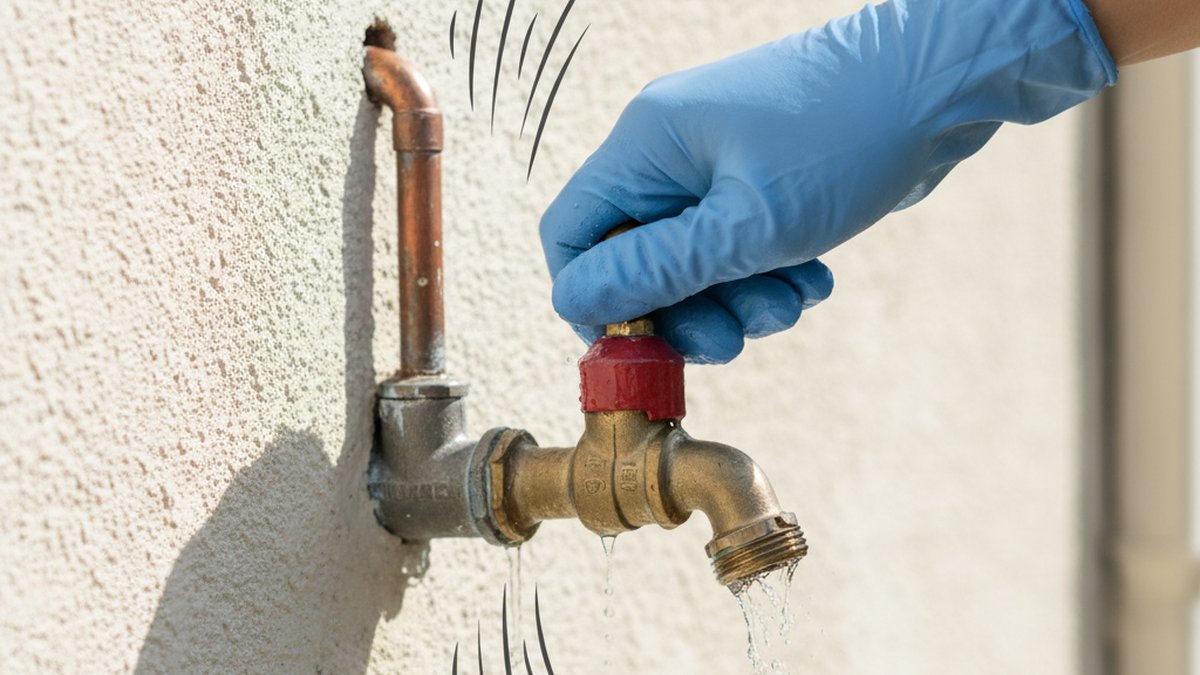
If your water hammer outside faucet problem sounds like someone hit the pipe with a hammer every time you turn off the garden hose, you’re hearing a real, fixable pressure event — not a plumbing emergency, but not something to ignore either. That bang is the momentum of moving water hitting a valve that closed too quickly, and the shockwave travels back through your pipes. Left alone for months, it loosens fittings, cracks solder joints, and can eventually split a supply line. The good news: for most homeowners this is a 20-minute, under-$30 DIY repair, and below we’ll walk through exactly what’s happening and how to stop it for good.
What exactly is water hammer on an outside faucet — and is it dangerous?
Water hammer is a hydraulic shock: when you snap a faucet shut, the column of water rushing toward it can’t stop instantly, so it slams into the closed valve and sends a pressure spike backward through the pipe. At an outside faucet — a hose bib or sillcock — this is common because those valves often close abruptly, especially quarter-turn ball-style bibs and the auto-shutoff nozzles on hoses.
Is it dangerous? Not usually in the short term. A single bang won’t burst a pipe. But repeated shocks fatigue the system. Over time you can get:
- Loosened threaded connections at the hose bib and anywhere the pipe changes direction.
- Cracked solder joints on copper, which turn into slow drips inside walls.
- Damaged washers and cartridges in nearby indoor faucets from the same pressure spikes.
- Pinhole leaks or split lines in the worst, long-neglected cases — often at the elbow feeding the outdoor bib.
Pressure spikes from severe water hammer can momentarily hit 3–5 times your normal static pressure. If your house sits at 60 psi, a hard slam can briefly spike past 200 psi. Pipes are rated to handle that occasionally, but not thousands of times.
Why does my outside faucet bang when I turn the hose off fast?
Because the faster you close a valve, the harder the water slams into it. That’s the single biggest cause of water hammer at an outdoor tap, and it’s also the easiest to test: turn the faucet off slowly over 2–3 seconds and the bang usually disappears. If it does, you’ve confirmed classic water hammer rather than a different pipe noise.
There are a handful of specific culprits behind an outdoor faucet that hammers:
- Hose-end shutoff nozzles. Those spray guns and quarter-turn brass shutoffs close in a fraction of a second — the worst offender for hammer.
- Waterlogged air chambers. Many homes have a short capped stub of vertical pipe near fixtures that traps a cushion of air. Over years that air dissolves into the water, the chamber “waterlogs,” and the cushion is gone.
- High household water pressure. Anything over 80 psi makes hammer louder and more damaging.
- Loose or unstrapped pipes. The bang isn’t only the shock — it’s the pipe physically jumping and hitting a stud or joist. Loose pipes turn a small shock into a loud knock.
- Long straight runs to the bib. The longer the pipe feeding your outdoor faucet, the bigger the water column and the harder it hits.
How do I know it’s water hammer and not a different pipe noise?
Water hammer is a single sharp bang or thud that happens the instant you shut the valve — not while water is running. If your noise is a hum, whistle, or rattle while the water flows, that’s usually a worn washer, a loose part, or high-velocity flow, not hammer. We break those apart in our guide to a noisy bathroom tap, and the same diagnostic logic applies outdoors. Quick test: run the outside faucet, then close it slowly. Silence on a slow close plus a bang on a fast close equals water hammer, full stop.
How do I stop water hammer on an outside faucet myself?
Install a mini water hammer arrestor on the hose bib and close the tap more slowly — that combination fixes the large majority of cases for under $30 and about 20 minutes of work. Here’s the full DIY sequence, from the cheapest fix to the most thorough.
Step 1 — Close the valve slowly (free)
Before buying anything, retrain the habit: take 2–3 seconds to close the outdoor faucet and any hose nozzle. If you use an auto-shutoff spray gun, that’s likely your main trigger — swap it for one you can throttle gradually. This alone eliminates the noise for a lot of people and costs nothing.
Step 2 — Install a mini water hammer arrestor ($12–$25)
A hose-bib arrestor is a small device with a sealed air-and-piston chamber that absorbs the shockwave. For an outdoor faucet, the easiest version threads right onto the hose bib spout:
- Turn off the outside faucet.
- Wrap the hose-bib threads with two or three turns of PTFE (plumber’s) tape.
- Thread the mini arrestor onto the bib by hand, then snug it about a quarter-turn with pliers — don’t overtighten.
- Reconnect your hose to the arrestor’s outlet.
- Turn the water back on and test with a fast shutoff. The bang should be gone or dramatically quieter.
Prefer a permanent, tidier fix? Install a threaded arrestor on the supply line just upstream of the bib, or a tee-mounted arrestor at the last accessible joint before the faucet. That requires shutting off the branch and doing a small bit of pipe work, but it hides the device and protects the whole run.
Step 3 — Recharge waterlogged air chambers (free)
If your home has built-in air chambers, you can often restore them without buying a thing:
- Shut off the main water supply to the house.
- Open the highest faucet in the house and the lowest faucet (often the outside bib or a basement tap).
- Let the system drain fully — this pulls fresh air back into the chambers.
- Close the faucets and turn the main back on, lowest faucet last.
This recharges the air cushion and can quiet hammer throughout the house, including the outdoor tap.
Step 4 — Strap loose pipes and check your pressure
Secure any pipe you can reach that rattles against framing, using cushioned pipe clamps (the ones with a rubber liner) rather than bare metal straps. And test your household pressure with a $10 gauge that screws onto the outdoor bib: if you read over 80 psi, install or adjust a pressure-reducing valve where the main enters the house. High pressure makes every other fix work harder.
Which fix should I use? A quick comparison
Not every fix fits every situation. Here’s how the common options stack up so you can pick based on your budget, how permanent you want it, and whether you’re comfortable touching pipe.
| Fix | Typical Cost | Difficulty | How Permanent | Best For |
|---|---|---|---|---|
| Close the tap slowly | Free | None | Behavior only | Confirming the diagnosis; mild cases |
| Mini arrestor on hose bib | $12–$25 | Easy (hand-tight) | Long-term | Most homeowners; renters |
| Inline/tee arrestor on supply | $20–$45 | Moderate (pipe work) | Permanent | Chronic hammer; tidy install |
| Recharge air chambers | Free | Easy | Months to years | Whole-house hammer |
| Pressure-reducing valve | $50–$150 + install | Hard / pro | Permanent | Pressure over 80 psi |
Do arrestors work on an outdoor spigot in freezing climates?
Yes, but pick the right type and drain it before winter. A screw-on mini arrestor left on an outdoor bib can trap water and crack when it freezes, so in cold regions remove hose-end accessories and drain the bib each fall — the same routine you’d follow for any freeze-prevention on an outdoor faucet. If you have a frost-free (freeze-proof) sillcock, an inline arrestor installed indoors on the supply line is the better call, because it stays protected inside the heated envelope of the house while still killing the shock.
Frost-free sillcocks actually shut off water back inside the wall, which changes the water column length and can either mask or worsen hammer depending on the run. If your outdoor faucet is a freeze-proof model and still bangs, focus your arrestor placement on the interior supply line rather than the outside spout.
What if the banging is coming from inside the wall, not the faucet?
If the loudest knock is behind the wall rather than at the spout, the shockwave is traveling back to an unsecured pipe or a waterlogged chamber deeper in the system. Start with the air-chamber recharge in Step 3, then add an arrestor as close as you can get to the outdoor bib on the accessible indoor side. Anywhere the outdoor line ties into your main plumbing is a smart spot to protect — the fittings and threaded joints there are exactly where you’ll find quality brass faucet parts like tees, elbows, and adapters that let you add a tee-mounted arrestor cleanly.
When should I stop DIYing and call a plumber?
Call a pro if the hammer persists after an arrestor and air-chamber recharge, if you see any moisture or corrosion at the pipe feeding the bib, or if your water pressure reads above 80 psi and you’re not comfortable installing a pressure-reducing valve. Those are the three signals that the problem is bigger than the faucet itself.
Specifically, get help when:
- You hear hammer at multiple fixtures, not just the outdoor tap — that points to a system-wide pressure or air-chamber issue.
- There’s visible water staining on the wall or ceiling below the outdoor faucet’s supply run.
- The bib itself wobbles or the pipe behind it moves when you operate the handle — that’s a mounting/strapping problem inside the wall.
- You’ve got old galvanized pipe, which is more prone to hammer damage and harder to work on safely.
If your outdoor setup is due for an upgrade anyway, it’s worth getting the connection itself right — a solid, leak-free hose bib gives an arrestor a clean surface to seal against. Our guide to the best outdoor faucet connection walks through choosing a bib and fittings that won’t work loose under pressure, and if your bib lacks backflow protection, pair this repair with an outdoor faucet vacuum breaker replacement so you fix noise and code compliance in one trip.
How much does fixing water hammer at an outside faucet cost?
For a DIY fix, expect $12–$45 total: roughly $12–$25 for a mini arrestor, plus a $10 pressure gauge and a few dollars of PTFE tape and cushioned clamps. If you need a pressure-reducing valve installed by a plumber, budget $150–$350 including parts and labor. A full diagnostic service call for persistent, hard-to-locate hammer typically runs $100–$250 depending on your area.
Put simply: the vast majority of outdoor-faucet hammer is a sub-$30 afternoon. It only gets expensive when the root cause is whole-house pressure or damage that’s already happened inside a wall — which is exactly why catching that bang early pays off.
FAQ
Can water hammer at an outside faucet damage my indoor plumbing?
Yes. The pressure shockwave doesn’t stay at the outdoor tap — it travels backward through the shared supply lines and can loosen fittings, fatigue solder joints, and wear out cartridges and washers in your indoor faucets. That’s why it’s worth fixing even if the only noise you notice is outside.
Why does my outdoor faucet only hammer when I use a spray nozzle?
Because auto-shutoff spray nozzles and quarter-turn brass hose shutoffs close almost instantly, which is the ideal condition for water hammer. The water column slams to a stop in a fraction of a second. Switch to a nozzle you can close gradually, or add a mini arrestor between the bib and the hose, and the banging usually stops.
Will a water hammer arrestor fix the noise permanently?
In most cases, yes. A quality arrestor uses a sealed air chamber and piston that don’t waterlog the way old open air chambers do, so it keeps absorbing shock for years. If hammer returns after installing one, the real culprit is usually excessive household pressure (over 80 psi) or a loose pipe rattling against framing — address those and the fix holds.
Is water hammer covered under a faucet’s warranty?
Generally no — water hammer is a plumbing-system pressure issue, not a manufacturing defect, so faucet warranties don’t cover damage it causes. However, arrestors themselves often carry their own limited warranties, and manufacturers build valves to standards like ASSE 1010 (for water hammer arrestors) precisely because uncontrolled shock is a known system risk. Always keep your receipt and register the part.
Can I install a water hammer arrestor on a frost-free sillcock in a cold climate?
You can, but install it on the interior supply line rather than the exterior spout so it doesn’t trap water and freeze. Frost-free sillcocks shut off inside the heated wall, so an indoor-mounted arrestor stays protected and still absorbs the shock effectively. Remove any hose-end accessories and drain the bib before winter regardless.
How do I test my home’s water pressure before buying an arrestor?
Screw a $10 water pressure gauge directly onto your outdoor hose bib, turn the faucet fully on with no hose attached, and read the dial. Anything from 40–70 psi is ideal, 70–80 psi is acceptable, and over 80 psi means you should install or adjust a pressure-reducing valve — which will make your arrestor and every other fixture last longer.
About This Guide
Author’s note: This guide was written by the Avamani fixtures team, drawing on hands-on repair experience with residential hose bibs, sillcocks, and supply-line hardware. We’ve diagnosed water hammer on everything from 1950s galvanized systems to modern PEX installs, and the fixes above reflect what actually works in real homes — not just theory.
About Avamani: Avamani designs and sells faucets, shower systems, and bathroom fixtures built to recognized North American plumbing standards, with hardware pressure-tested before it ships. We stand behind our fixtures with clear warranties and publish plain-English repair guides like this one because a fixture is only as good as your ability to install and maintain it. When in doubt about pressure ratings or code, consult a licensed plumber in your area.