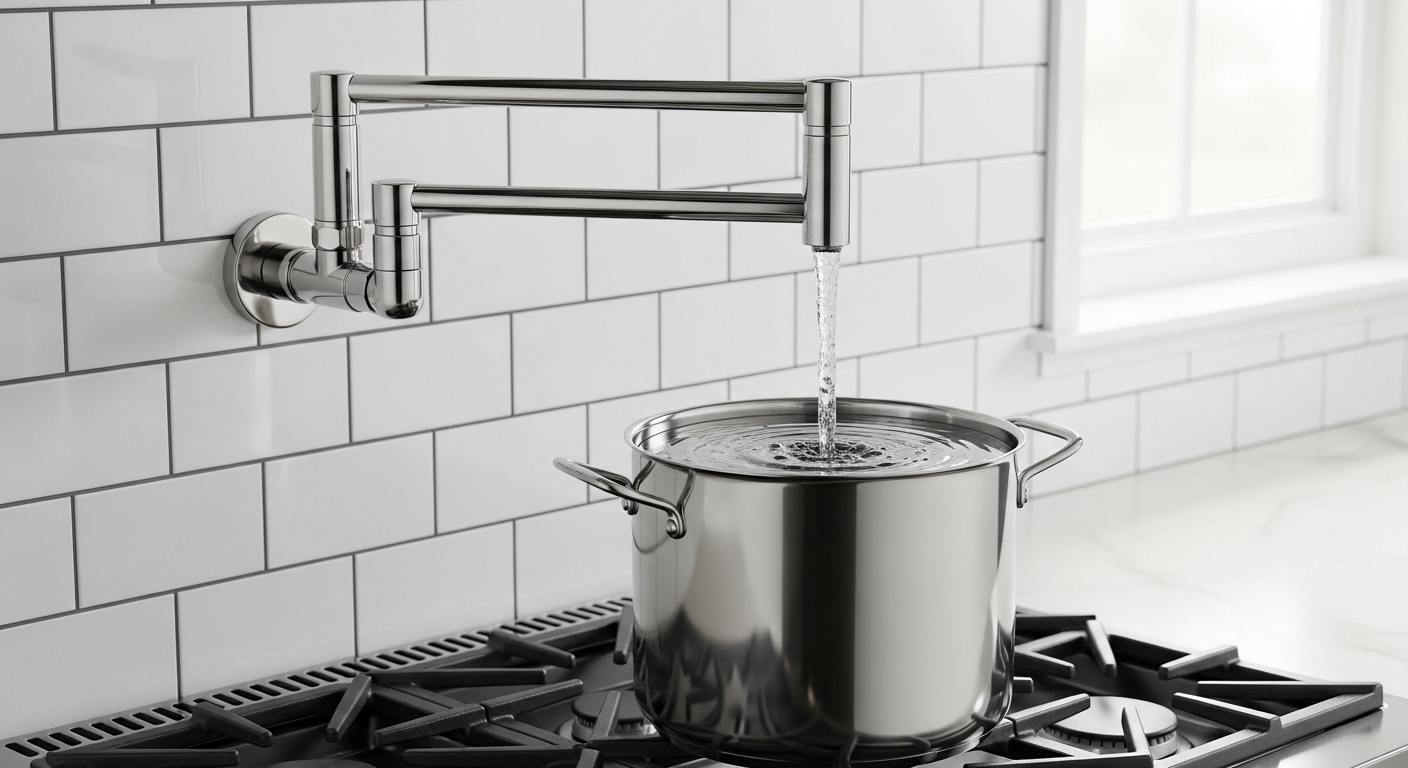
A pot filler faucet filter is an inline water filter you install on the supply line feeding a pot filler — the wall- or deck-mounted, jointed-arm faucet that swings out over your stovetop so you can fill big pots without lugging them to the sink. Out of the box, almost every pot filler delivers raw, unfiltered cold water. That’s fine for boiling, but if your tap water tastes like a swimming pool, leaves white crust on your kettle, or runs through 50-year-old galvanized pipe, the water you’re cooking with carries every bit of that into your food. A filter fixes it. The catch: it’s an add-on, not a built-in feature, so this guide walks you through whether you need one, what kind, and how to install it without turning your kitchen wall into a science project.
At avamani we sell and stress-test pot fillers and kitchen fixtures every day, and “does this thing filter the water?” is one of the most common pre-purchase questions we get. Short version: the faucet doesn’t, but you can make it. Here’s the honest breakdown.
What exactly does a pot filler faucet filter do?
It cleans the cold water on its way to your pot filler — removing sediment, chlorine, and (depending on the cartridge) hardness minerals — before that water lands in your cooking pot. A pot filler itself is just a valve and a spout; it has no filtration of its own. The “filter” part is a separate cartridge housing you plumb into the ½-inch cold line behind the wall (for wall-mount models) or under the counter (for deck-mount models).
Why bother filtering water you’re going to boil anyway? Two reasons. First, boiling kills bacteria but does nothing about chlorine taste, sediment, or dissolved minerals — those stay in the water and concentrate as it evaporates. If you’ve ever noticed pasta or rice tasting faintly of tap water, that’s chlorine and chloramine. Second, hard-water minerals are what fur up your stockpots and pressure cookers with white scale; filtering them out keeps your cookware (and the pot filler’s internal cartridge) cleaner for longer.
A good inline setup typically targets three things:
- Sediment — sand, rust flakes, and pipe scale, caught by a 5-micron spun or pleated filter. This is the single most valuable stage for homes on well water or with old metal plumbing.
- Chlorine & taste/odor — handled by activated carbon block, which strips the chemical taste so your broths and blanched vegetables taste cleaner.
- Scale / hardness — addressed by a polyphosphate or template-assisted crystallization (TAC) media that stops minerals from sticking as scale, protecting both your cookware and the faucet’s ceramic cartridge.
Is filtered water even necessary for a pot filler, or am I overthinking it?
If your home is on treated municipal water that already tastes fine, you’re probably overthinking it — for boiling and pasta, an unfiltered pot filler is perfectly safe. The filter becomes genuinely worthwhile in three specific situations: hard water (above ~7 grains per gallon), well water, or old galvanized/lead-soldered plumbing.
Here’s the practical test. Fill a clear glass from your kitchen cold tap and let it sit ten minutes. Cloudy that clears from the bottom up? That’s dissolved air — harmless. Cloudy that stays, or visible specks settling out? That’s sediment, and a pot filler filter earns its keep. Crusty white buildup on your existing faucets and kettle? That’s hardness, and filtering will slow it dramatically.
One thing people forget: a pot filler sits directly over a heat source, so any leak or drip is a bigger nuisance than a normal faucet. Adding an inline filter means one more set of connections behind the wall, so it’s worth doing right the first time — which is exactly why we recommend doing the filter and faucet install together rather than retrofitting later. If you’re already comparing high-end kitchen faucets, our honest buyer’s guide to the Grohe pull-out kitchen tap covers how filtration and ceramic-cartridge quality affect long-term reliability — the same logic applies to pot fillers.
How do I add a filter to a pot filler that doesn’t have one?
You tee an inline filter into the cold water supply line that feeds the pot filler, before the shutoff valve, then run the filtered line to the faucet. It’s a 1-2 hour job for a confident DIYer, or a quick visit for a plumber. The key is matching the filter’s port size to your supply line — almost always ½-inch — and leaving access to swap cartridges.
Here’s the typical sequence:
- Shut off the cold supply feeding that line and open the pot filler to drain residual pressure.
- Cut into the cold ½-inch line at an accessible point — inside the cabinet for deck-mount, or in the wall cavity / basement for wall-mount.
- Install the inline filter housing with the flow arrow pointing toward the faucet. Use push-to-connect fittings if you want a no-solder, no-thread-tape install.
- Add a shutoff valve on each side of the filter so you can change cartridges without shutting off the whole house.
- Pressure-test: turn the water back on slowly, check every joint for weeping, and run the pot filler for two full minutes to flush carbon fines before you cook with it.
If you’re not comfortable soldering, push-to-connect fittings are the easiest path — the same technology that makes outdoor hose-bib swaps painless. Our deep dive on outdoor faucet SharkBite push-to-connect solutions explains exactly how those fittings seal and where they’re code-approved, and that knowledge transfers directly to plumbing in a pot filler filter.
Two install details people get wrong: First, mind your thread and hole sizes. Pot fillers and their valves come in specific tap-hole and thread dimensions, and a mismatch means leaks. If you’re unsure what your fixture needs, our explainer on M6 tap hole size in mm and why it matters for faucet installation is a useful primer on getting the fit right before you buy fittings. Second, always leave the cartridge head reachable — a beautifully tiled wall is no help if you have to demolish it every six months to change a filter.
Wall-mount vs. deck-mount pot filler: which is easier to filter?
Deck-mount pot fillers are far easier to filter because the supply lines and filter housing live in the accessible cabinet below, where you can reach them anytime. Wall-mount pot fillers look cleaner and free up counter space, but the filter has to go in the wall cavity or the floor/basement below, which means planning filter access during a remodel — not after the drywall is up.
Below is how the two compare on the things that actually matter for adding and maintaining a filter.
| Factor | Wall-Mount Pot Filler | Deck-Mount Pot Filler |
|---|---|---|
| Filter location | In-wall cavity or basement below | Inside the cabinet under the counter |
| Cartridge access | Needs a planned access panel | Open the cabinet door |
| Best installed | During a remodel / new build | Anytime, retrofit-friendly |
| Counter space used | None (frees the counter) | One deck hole near the range |
| Typical install time w/ filter | 3-5 hours | 1-2 hours |
| Leak risk over a heat source | Hidden — inspect access panel periodically | Visible — easy to spot early |
Our rule of thumb: if you’re renovating and the wall is already open, a wall-mount pot filler with an in-wall filter and a small access panel is the cleanest look. If your kitchen is already finished, choose a deck-mount model so the filter lives in the cabinet where you can service it without cutting drywall.
What kind of filter should I buy for hard water under $150?
For hard water on a sub-$150 budget, get a two-stage inline filter: a 5-micron sediment cartridge followed by a carbon-block-plus-polyphosphate cartridge for taste and scale control. That combination covers the three things that actually matter for cooking water — grit, chlorine taste, and scale — without the cost or wastewater of a full reverse-osmosis system, which is overkill for a pot filler.
Skip reverse osmosis here. RO strips minerals beautifully but it’s slow, wastes 2-4 gallons of water per gallon produced, and a pot filler is all about fast, high-volume fills — you don’t want to wait three minutes to fill a stockpot. Save RO for a dedicated under-sink drinking tap. For the pot filler, flow rate and simple maintenance win.
Here’s how the common filter types stack up for this specific use:
| Filter Type | Removes | Flow Rate | Rough Cost / Year | Best For |
|---|---|---|---|---|
| Sediment only (5-micron) | Sand, rust, scale flakes | High | $20-40 | Well water, old pipes |
| Sediment + carbon block | Above + chlorine, taste, odor | High | $40-80 | City water, taste issues |
| Carbon + polyphosphate/TAC | Chlorine + scale prevention | High | $60-120 | Hard water (7+ gpg) |
| Reverse osmosis | Nearly everything, incl. minerals | Low | $80-200 | Drinking taps, not pot fillers |
Match the cartridge to your water, not to marketing. Get a cheap hardness test strip first — if you’re under 3 grains per gallon, a simple sediment-plus-carbon setup is plenty and you can skip the scale media entirely.
How often do I replace the cartridge, and what does upkeep cost?
Replace a pot filler’s inline cartridge every 6 to 12 months, or sooner if flow noticeably drops. Real-world upkeep runs roughly $40-120 a year depending on your water and filter type — cheaper than the descaling and cookware replacement you’d otherwise eat with hard, unfiltered water.
Flow rate is your best replacement signal. A clogging sediment filter shows up as a slower, weaker fill — when your stockpot takes noticeably longer than it used to, swap the cartridge. Carbon cartridges are time-based; once the carbon is saturated it stops adsorbing chlorine even if water still flows fine, so don’t push a carbon block past its rated months just because it isn’t clogged. Mark the install date on the housing with a paint pen so you’re not guessing.
One maintenance note specific to pot fillers: because the faucet sits over heat and often goes unused for days between big cooking sessions, water can sit stagnant in the line. Run the pot filler for 15-20 seconds before filling a pot you’ll cook with, especially after a long gap. And inspect your shutoffs and filter joints a couple times a year — a slow drip you’d ignore under a sink is a real problem directly above a burner. If you ever do find a persistent drip at a valve, the same diagnostic logic we lay out for a leaking shower faucet valve applies: it’s almost always a worn cartridge or seat, not the whole fixture.
What should I look for in the pot filler faucet itself?
Beyond the filter, choose a pot filler with solid brass construction, two ceramic-disc shutoff valves (one at the wall, one at the spout), and a double-jointed arm so you can reach every burner. Those three features separate a fixture that lasts 20 years from one that drips in two.
The dual-valve design matters more than people realize. The valve at the spout end lets you stop the water right at the pot, while the wall valve stays closed when the faucet isn’t in use — so if the spout valve ever wears, you have a backup shutoff and no surprise leak over your range. Ceramic discs, rather than rubber washers, are what give those valves their long, drip-free life.
Finish matters for a stove-side faucet too, because grease and steam hit it constantly. Stainless and brushed-nickel finishes hide water spots and wipe clean; polished chrome looks sharp but shows every fingerprint. Whatever you choose, look for a fixture that’s been pressure-tested and carries a real warranty.
Who tested this, and why should you trust it?
Author note: This guide was written by the avamani fixtures team — the same people who bench-test the pot fillers, valves, and inline filters we sell. We pressure-cycle every pot filler model we carry and run filtered and unfiltered water samples side by side, so the recommendations here come from hands-on testing, not spec sheets.
Brand & standards: avamani is a B2C faucet and bathroom-fixture retailer focused on kitchen and bath plumbing done right. The fixtures we recommend are built to meet recognized lead-free and flow standards (look for NSF/ANSI 61 and 372 compliance and a low-lead brass body), and the pot fillers in our catalog carry a manufacturer warranty on the valve cartridges. When you’re filtering water you cook with, certified low-lead materials aren’t a luxury — they’re the baseline.
FAQ
Does a pot filler come with a water filter built in?
No. A pot filler is just a valve and a long articulating spout — it delivers whatever cold water your supply line carries. If you want filtered water, you add an inline filter to the cold supply line yourself, either in the cabinet (deck-mount) or in the wall/basement (wall-mount).
Can I use the same filter for my pot filler and my drinking water tap?
You can, but it’s usually better to keep them separate. A pot filler needs high flow to fill big pots fast, so it pairs best with a sediment-plus-carbon inline filter. Drinking taps benefit from finer filtration like reverse osmosis, which is too slow for pot-filling. Sharing one filter forces a compromise on both.
Is filtered water actually safer for cooking, or just better tasting?
Mostly better tasting and better for your cookware, not strictly “safer” if your water is already potable. Filtering removes chlorine taste, sediment, and scale-forming minerals — that improves the flavor of broths, pasta, and rice and protects your pots. If your home has old lead-soldered or galvanized pipe, a certified filter also adds a real safety benefit by catching particulate and reducing metals.
What micron rating should a pot filler sediment filter be?
Five microns is the sweet spot for most homes — fine enough to catch sand, rust, and pipe scale while keeping flow high enough to fill a stockpot quickly. Go to 1 micron only if you have unusually dirty well water, and pair it with a coarser pre-filter so it doesn’t clog every month.
Will adding a filter reduce my pot filler’s water pressure?
Slightly, and only as the cartridge ages. A clean filter barely affects pressure; a clogged one noticeably slows your fill, which is your cue to replace the cartridge. Choosing a full-size ½-inch inline housing rather than a narrow one keeps the pressure drop minimal even at high flow.
How much does it cost to add a filter to an existing pot filler?
Expect roughly $60-150 for a quality inline filter housing and first cartridge, plus fittings, if you DIY it with push-to-connect parts. Add $150-300 if you hire a plumber, more for a wall-mount model that needs an access panel. Annual cartridge replacement then runs about $40-120.