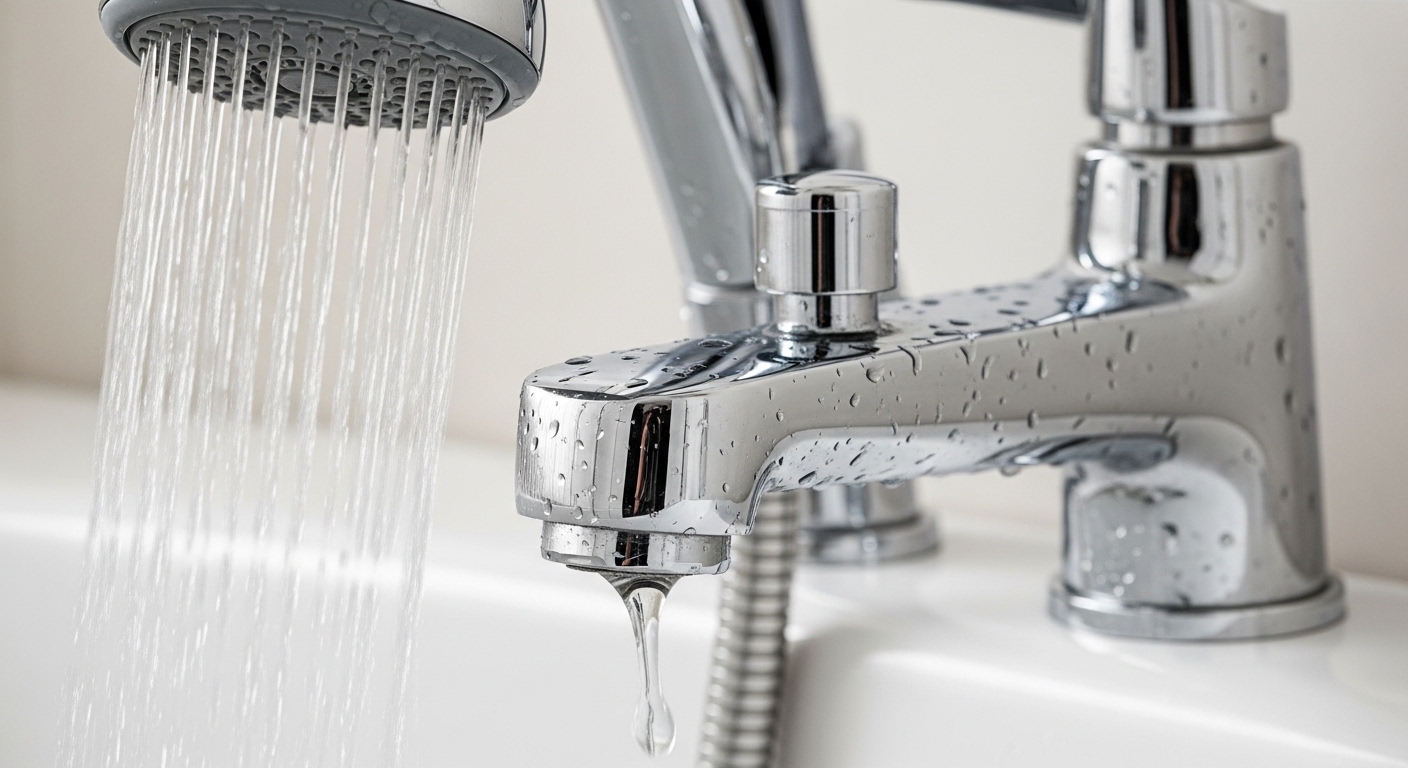
Learning how to fix a leaky faucet while the shower is on comes down to understanding one small part doing a big job: the diverter. When you pull that tab up (or turn a knob) to send water to the shower head, the diverter is supposed to slam a door shut on the tub spout so 100% of the pressure goes up. When it’s worn, cracked, or gunked up with mineral scale, that door won’t seal — and you get that annoying stream running out of the spout the entire time you shower. It wastes water, it’s noisy, and it usually means your shower pressure feels weaker than it should. Below I’ll walk you through exactly why it happens, how to diagnose which kind of diverter you have, and how to fix it yourself.
Why is water leaking from the tub spout while the shower is running?
Because the diverter isn’t sealing. That’s the short answer. When water comes out the tub spout and the shower head at the same time, the diverter mechanism that’s supposed to close off the tub outlet has failed to make a full seal, so some of the pressurized water takes the path of least resistance and escapes out the spout.
There are three common culprits, and knowing which one you have determines the fix:
- A worn tub-spout diverter — the pull-up tab on top of your spout. Inside the spout is a little gate and a rubber washer. After a few years of yanking that tab up and down, the washer wears out or the gate warps, and it stops sealing. This is the most common cause and the easiest fix.
- A failing shower diverter valve in the wall — on three-handle setups, the middle handle is a dedicated diverter valve with its own stem and washers. Those washers dry out and crack.
- A worn valve cartridge — on single-handle showers, the cartridge handles both temperature and flow, and internal seals inside it can let water bypass to the spout.
Mineral buildup makes all three worse. If you have hard water, calcium and lime scale coat the sealing surfaces so they can’t close cleanly. That’s the same scale that clogs shower heads and stiffens faucet handles — the enemy of every moving part in your bathroom.
How do I tell which type of diverter I have?
Look at your handles and your spout — the count tells you almost everything. Here’s the quick diagnosis:
| What you see | Diverter type | Most likely fix | Difficulty |
|---|---|---|---|
| A little pull-up tab on top of the tub spout | Spout diverter (gate type) | Replace the whole tub spout | Easy (15–30 min) |
| Three handles (hot, cold, and a center one) | Wall diverter valve | Rebuild or replace the center stem/washers | Moderate (45–60 min) |
| One handle you pull/turn for everything | Cartridge diverter | Replace the valve cartridge | Moderate (30–60 min) |
| Two handles + a spout with a pull tab | Spout diverter (most common) | Replace the tub spout | Easy (15–30 min) |
Roughly 8 out of 10 “leaks out the spout during a shower” problems are the spout diverter — the pull-up-tab kind. That’s genuinely good news, because replacing a tub spout is one of the most beginner-friendly plumbing repairs there is. You often don’t even need to open the wall. If you have a three-handle or single-handle setup and the spout has no tab, the problem is deeper in the valve, which I cover further down. For a deeper look at what’s going wrong inside a wall valve, our guide on a shower faucet valve leaking breaks down each internal part and the right replacement to buy.
How do I fix a leaky tub spout diverter myself (step by step)?
Replace the tub spout — that’s the fix for the pull-tab type, and it’s the single most common repair. The diverter is built into the spout, so you don’t rebuild it; you swap the whole spout, which costs $10–$30 for a basic chrome one. Here’s the full process.
- Shut off the water. If you have shut-off valves for the bathroom, use them. No dedicated valves? Turn off the main water supply to the house. You’ll be glad you did if anything cracks.
- Figure out how your spout attaches. There are two mounting styles: slip-on (held by a small hex set screw underneath the spout near the wall) and threaded (screws directly onto a pipe nipple). Feel under the spout for a set screw — if there’s an Allen/hex screw, it’s slip-on.
- Remove the old spout. For slip-on: loosen the set screw with an Allen wrench and pull the spout straight off. For threaded: turn the whole spout counterclockwise (wrap a cloth around it and use a pipe wrench or insert a large screwdriver/wooden dowel into the spout opening for leverage).
- Clean the pipe. Wipe off old thread tape, plumber’s putty, and any mineral scale where the spout seats. A clean surface is what makes the new seal watertight.
- Install the new spout. For threaded spouts, wrap 3–4 turns of PTFE (plumber’s) tape clockwise around the pipe threads, then hand-tighten the spout until it faces straight down. For slip-on, slide it onto the copper pipe and tighten the set screw against it. Don’t overtighten — you want snug, not cranked.
- Turn the water back on and test. Run the tub, then pull the diverter tab up. Water should go entirely to the shower head with no drip from the spout. Done.
The whole thing usually takes 20 minutes. When you buy a replacement spout, match the length and the mounting style to what you removed — bring the old spout to the store or measure it. If you also want to upgrade the shower head while the water’s off, our walkthrough on how to install shower head fittings yourself pairs perfectly with this repair.
What if I have a three-handle or single-handle shower?
Then the leak is inside the wall valve, and you’ll rebuild or replace a stem or cartridge instead of the spout. Same root cause — a worn seal that won’t divert cleanly — but the part lives behind the wall plate.
Three-handle setup: The center handle is the diverter. Shut off the water, pop off the handle (there’s usually a decorative cap hiding a screw), unscrew the escutcheon, and use a deep socket or shower stem wrench to back out the diverter stem. Take it to a hardware store and match it exactly — brand and model matter here. Replace the rubber seat washer and any O-rings, or swap the whole stem if it’s corroded. Reassemble, and the shower will divert fully again.
Single-handle setup: The cartridge does everything, and a bad one lets water bypass to the spout. Shut off the water, remove the handle and trim, pull the retaining clip, and extract the cartridge with a cartridge-puller tool (some brands need their specific puller). Bring it in, buy the exact replacement, coat the O-rings with silicone faucet grease, and slide the new one in. This also fixes temperature drift and dripping as a bonus.
A quick note if you’re on a freestanding tub with an exposed floor-mounted filler and hand shower — those use a built-in diverter in the valve body too, and the same worn-seal logic applies. Our guide to the freestanding tub shower faucet combo explains how those diverters are laid out if that’s your setup.
Can I use the shower while the diverter is broken, or should I stop?
You can shower short-term, but fix it soon. A leaking diverter isn’t dangerous, but it’s wasting water every single shower and it usually means weaker pressure up top. Here’s the more important reason not to ignore it: the constant flow past a failing seal can accelerate wear and, in wall valves, keep the area behind the tile damp — and moisture behind tile is how small problems become expensive ones.
If the drip is minor and it’s a pull-tab spout, you’ve got time to order the right part. If water is escaping around the handle or the wall plate rather than just the spout, treat that as more urgent — that can signal a cracked valve body or failed valve seals, which is the difference between a $15 fix now and drywall repair later.
What tools and parts will I actually need?
For the common spout-diverter fix, you need very little. Here’s the realistic shopping list depending on your setup:
- Spout diverter (pull-tab): a matching replacement tub spout, PTFE thread tape, an Allen wrench (for slip-on), a cloth, and maybe a pipe wrench.
- Three-handle valve: a shower stem wrench or deep sockets, a replacement diverter stem or seat washers and O-rings, and silicone plumber’s grease.
- Single-handle valve: a cartridge puller, the exact replacement cartridge for your brand, a screwdriver, needle-nose pliers for the retaining clip, and silicone grease.
- Everyone: a towel to plug the drain (so screws don’t disappear), and white vinegar to dissolve mineral scale off the sealing surfaces.
Buying the right cartridge or stem is where most DIYers stumble — brands are not interchangeable. Match the manufacturer and model, and don’t assume a “universal” part will seal as well as OEM. Genuine parts are engineered to the exact tolerances of the valve body, which is the whole point of a watertight seal. This is the same lesson that applies across bathroom fixtures — sourcing the correct OEM component matters, as we cover in our piece on finding genuine Kohler faucet parts that actually fit.
How do I stop the diverter from leaking again?
Prevent scale and don’t force the mechanism. Most diverters die from two things: hard-water mineral buildup and rough handling. A few habits stretch the life of the new part significantly:
- Pull the diverter tab gently and let it drop on its own when you’re done — don’t slam it.
- If you have hard water, wipe the spout and periodically soak removable parts in white vinegar to dissolve scale before it hardens on the seal.
- When you replace a cartridge or stem, always grease the O-rings with silicone plumber’s grease — never petroleum jelly, which degrades rubber.
- Consider a whole-home or point-of-use water treatment if your area has very hard water; it protects every fixture, not just the shower.
If you keep burning through diverters every couple of years despite this, hard water is almost certainly the reason, and it’s worth addressing at the source rather than repeatedly repairing the symptom.
FAQ
Why does my tub faucet leak only when the shower is on?
Because the diverter that’s supposed to seal off the tub spout when you switch to the shower has worn out. When the shower is off, there’s no pressure pushing against that seal, so nothing leaks. Turn the shower on and the pressurized water pushes past the failed seal and escapes out the spout. Replacing the spout diverter (or the valve cartridge/stem) fixes it.
How much does it cost to fix a shower diverter?
If it’s a pull-tab tub spout, a replacement spout costs about $10–$30 and you can install it yourself in 20 minutes. A valve cartridge or diverter stem runs roughly $15–$50. Hiring a plumber typically adds $100–$250 in labor, so the DIY route saves the most on the simple spout job.
Can a leaky diverter reduce my shower pressure?
Yes — noticeably. Every bit of water escaping out the spout is water that isn’t reaching your shower head. A failing diverter is one of the most common reasons a shower suddenly feels weaker than it used to, especially on older two-handle setups with pull-tab spouts.
Do I need to turn off the main water to replace a tub spout?
You should turn off the water supply to the bathroom before removing the spout, yes. If you don’t have dedicated shut-off valves for that bathroom, shut off the main. Even though the spout itself isn’t pressurized when the shower is off, you don’t want a surprise if a pipe or fitting shifts during removal.
Is a leaking shower diverter an emergency?
Usually not — a slow drip from the spout is a minor waste-water issue you can schedule around. It becomes urgent if water is escaping around the handle, wall plate, or through the tile grout instead of just the spout, which can point to a cracked valve body or failed internal seals and risks moisture damage behind the wall.
Will a universal replacement cartridge work in my shower valve?
Sometimes, but OEM is safer. “Universal” cartridges vary in how precisely they match your valve body’s tolerances, and a slightly-off fit is exactly what causes leaks and bypass. Match the manufacturer and model of your valve for the most reliable seal. If your fixtures are due for an upgrade anyway, browsing a coordinated line like our oil rubbed bronze bathtub faucet guide can help you standardize on parts that are easier to service.
Author note: This guide was written by the avamani fixtures team, drawing on hands-on repair of tub-and-shower diverters across two-handle, three-handle, and single-handle valve systems. avamani specializes in faucets, shower systems, and bathroom fixtures, and every product we stock is pressure-tested and backed by a manufacturer warranty, with components built to standard U.S. tub-and-shower valve dimensions so replacements fit and seal as intended.